I accidentally deleted some important files on my Windows 11 PC and then emptied the Recycle Bin before realizing I still needed them. I’m looking for the safest way to recover deleted files from the Recycle Bin without overwriting anything or making recovery harder.
First thing I’d do is stop using that drive as much as possible. When a file gets deleted in Windows, it usually isn’t wiped right away. Windows just marks that space as free, which means new files, downloads, updates, browser cache, or app installs can overwrite the data you’re trying to get back.
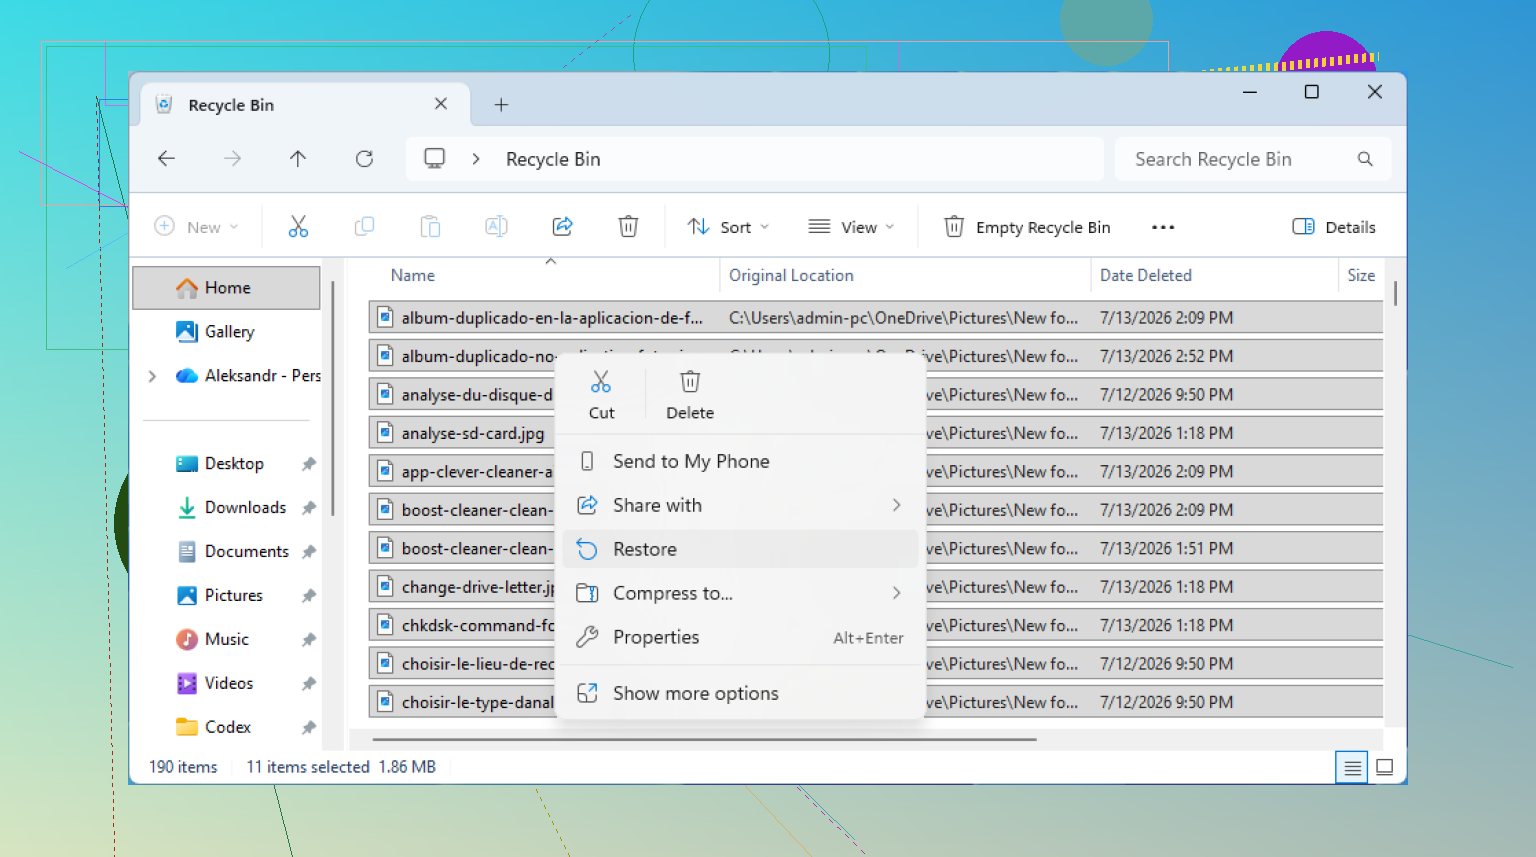
Before getting into recovery tools, check the Recycle Bin again. It sounds basic, but it’s worth doing. Sometimes the file was inside a deleted folder, or the bin wasn’t actually emptied the way you thought. Open the Recycle Bin from the desktop, look around, and if you find the file or folder, right-click it and choose Restore. That puts it back where it originally was.
If the Recycle Bin is empty, check whether Windows has a backup copy. File History can save you a lot of trouble if it was turned on before this happened. Go to the folder where the file used to be, right-click it, and choose “Restore previous versions.” From there, you can look through older versions of that folder and copy the file back out if it shows up.
You can also get to the same feature through Control Panel > System and Security > File History, then choose “Restore personal files.” That view is a little easier if you want to browse through backed-up folders visually.
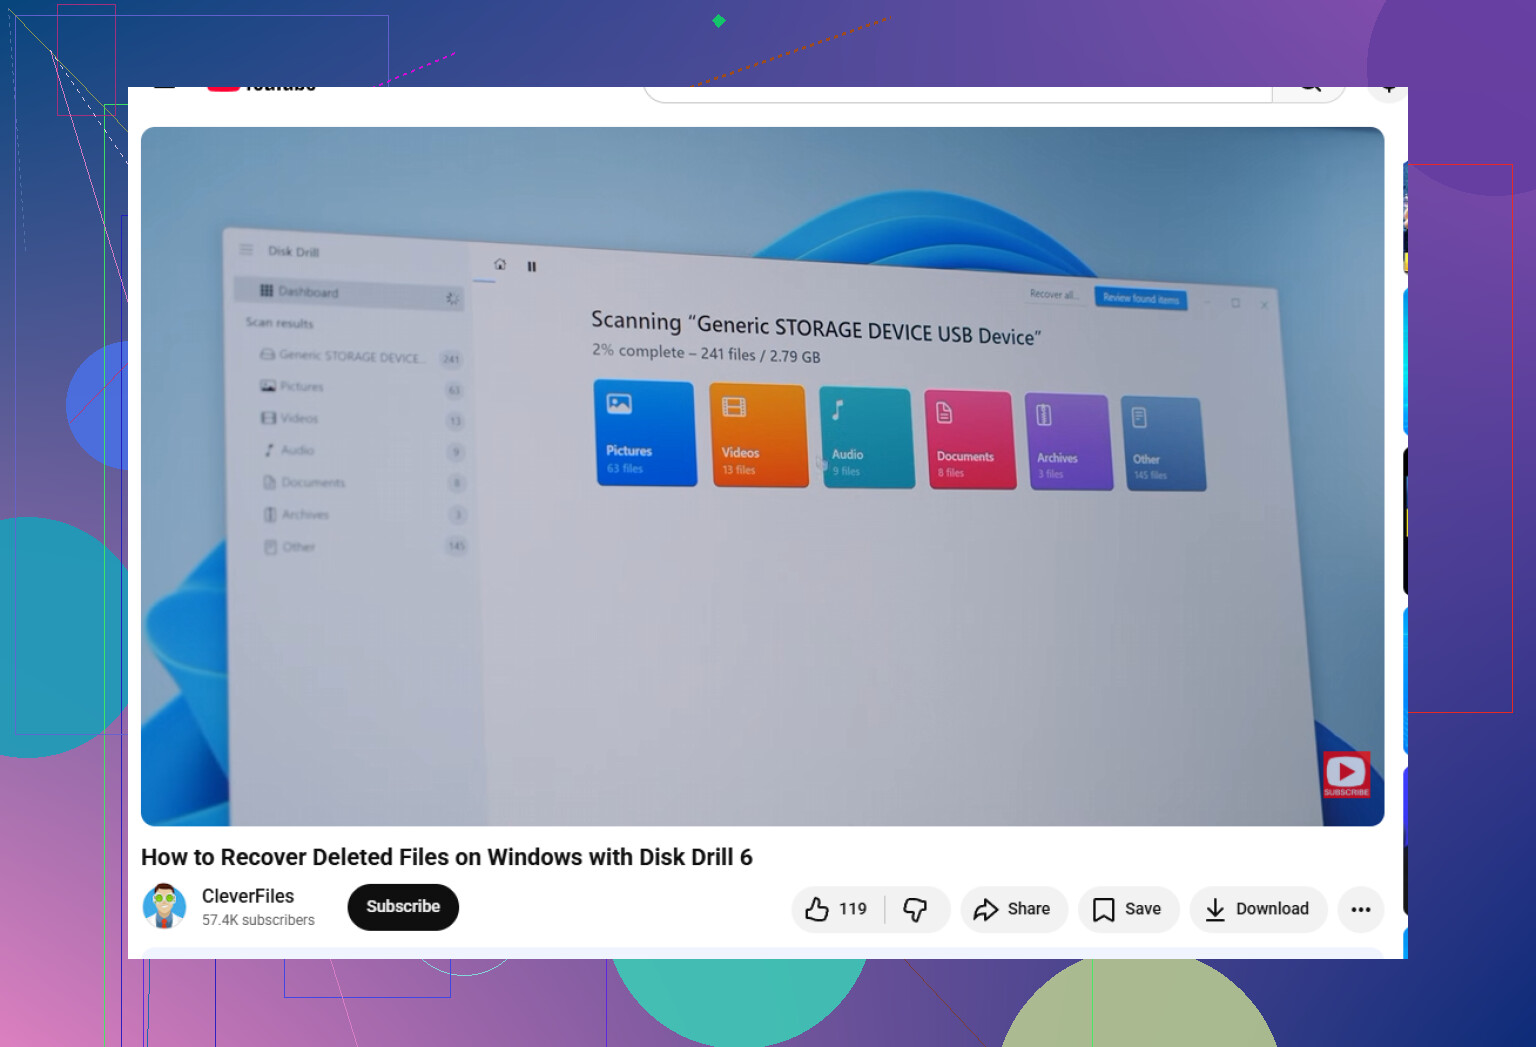
If there’s no backup, I’d move on to recovery software. Disk Drill is one of the easier options for this because it can scan common Windows file systems like NTFS and FAT32, and it can recover things like photos, videos, documents, and other file types.
The big thing is where you install it. Don’t install Disk Drill on the same drive you’re trying to recover from. If the deleted file was on C:, install the program on a USB drive or external drive instead. Installing anything on the affected drive can overwrite the deleted data.
Basic process:
Install Disk Drill on a separate drive, open it, then choose the drive where the missing files were stored. Click “Search for lost data” and let it scan. It can use deeper scanning methods too, which helps if the folder structure is damaged or the file isn’t showing up normally.
While the scan is running, check the preview results. If a photo or document previews correctly, that’s usually a good sign that it can be recovered properly.
Once you find the files you need, select them and click “Recover.” Save them somewhere else, like an external hard drive or USB stick. Don’t recover them back onto the same drive you scanned.
The Windows version can recover up to 100MB for free, which may be enough if you only need a few small but important files.
One catch: if the deleted files were on an SSD, recovery may be harder because of TRIM. TRIM can clear deleted data blocks pretty quickly so the drive stays fast. So if the files matter, don’t keep using the PC. Stop writing new data to that drive and scan it as soon as you can.
4 Likes
Don’t install a bunch of recovery apps on the same drive and “see which one works.” That can make the situation worse, especially if the deleted files were on your C: drive. @mikeappsreviewer is right about avoiding writes, but I’d be even more cautious with the system drive because Windows is constantly writing logs, updates, thumbnails, temp files, browser cache, and sync changes in the background.
A thing people forget to check is cloud sync. If your Desktop, Documents, or Pictures folder was backed up through OneDrive, Dropbox, Google Drive, etc., the file may be in the cloud recycle bin even though the Windows Recycle Bin is empty. Same goes for version history if the file was edited recently. Check the web version of the service, not only the folder on your PC, because local deletion may have synced but the cloud trash may still have a copy.
If there’s no cloud copy or File History backup, then recovery software is the next realistic option. Disk Drill is fine for a user-friendly scan, but don’t recover files to the same drive you’re scanning. Use an external drive or USB stick as the destination. If the missing files are very important and the drive is an SSD, keep expectations low because TRIM can make “deleted but recoverable” turn into “gone” pretty quickly. For anything business-critical or irreplaceable, shut the PC down and consider a recovery lab before running more scans.
Emptying the Recycle Bin is not the same as securely wiping the files. It only removes the easy “restore” entry and marks the space as reusable, so recovery may still be possible, but only if that space has not been reused yet.
I agree with the warnings above about not installing random tools onto the same drive, but I’d be stricter about one thing: if the files were on your main Windows drive, stop treating that PC like a normal PC for now. Don’t browse, don’t download installers, don’t run Windows cleanup, don’t defrag/optimize, don’t install updates, and don’t copy “just a few things” to the desktop. All of that can write to the same area you’re hoping to recover from.
If the files were on a separate HDD or USB drive, your chances are usually better. Unplug that drive and scan it from another computer. If the files were on C: and the PC has an SSD, the odds can drop fast because of TRIM, as already mentioned. Leaving the machine running can be enough for background tasks to make things worse.
The safer route, if the files really matter, is:
- Shut the computer down.
- If possible, remove the affected drive and connect it to another computer as a secondary drive.
- Recover to a different physical drive, never back to the same one.
- If you can, make a full image/clone of the drive first and scan the copy instead of the original.
That last part is what a lot of normal “how to recover deleted files” guides skip. Scanning itself is usually read-only, but if the drive is failing, encrypted, or unstable, working from an image is safer. It also gives you a second chance if the first recovery attempt makes a mess of the folder structure or filenames.
Disk Drill is a reasonable easy-button option for people who don’t want to deal with command-line tools, but the tool is not magic. The preview matters more than the file name. If it can preview the document, photo, or video properly, that is a better sign than just seeing a filename in a results list. If it only finds a file name with no preview, the file may be partly overwritten or just a leftover record.
For a free route, Microsoft’s Windows File Recovery is worth knowing about too. It is less friendly because it uses commands, but it can recover deleted files to another drive if the data is still there. The same rule applies: source drive and recovery destination must be different. If your deleted file was on C:, you’d want the recovered files going to something like E:, not back to C:.
A couple of checks before scanning:
Check OneDrive on the web if your Desktop/Documents/Pictures folders are synced. Don’t rely only on what you see in File Explorer.
Search your email, chat apps, and downloads if the file came from someone else. Sometimes the “recovery” is just grabbing the attachment again.
Look for temp/autosave copies if it was an Office, Photoshop, video editor, or coding project file. Some programs keep their own recovery folders separate from the original file location.
Check external backup drives that may have been plugged in once and forgotten.
If this is a personal file you’d be annoyed to lose, software recovery is fine to try carefully. If it is legal, business, tax, client, or one-of-a-kind family material, I would not keep experimenting on the live drive. Power it off and decide whether a recovery shop is worth the cost. The annoying answer is that the first few actions after deletion often matter more than which recovery app you pick.
Do not click “initialize,” “format,” or “scan and fix” if Windows prompts you.
That’s the little trap I don’t see mentioned enough. If you pull the drive and connect it to another PC, Windows may pop up with something like “You need to format the disk before you can use it” or “There’s a problem with this drive.” Don’t let Windows “repair” it unless you know exactly what you’re doing. That can write changes to the file system and make recovery harder.
The other wrinkle is BitLocker or device encryption. A lot of Windows 11 laptops have it enabled by default. If the drive is encrypted, recovery tools may not see anything useful until the drive is unlocked with the right recovery key or password. Check your Microsoft account for the BitLocker recovery key before assuming the drive is unreadable or dead.
Yes, recovery after emptying the Recycle Bin can work, but the odds depend heavily on where the files were and what happened afterward. For a few personal documents, using something user-friendly like Disk Drill is reasonable, as long as you scan the affected drive and save recovered files somewhere else. For anything you absolutely cannot lose, I’d avoid “trying five things” and make a clone first or hand it to a recovery shop. The annoying part is that a wrong click can do more damage than the original deletion.