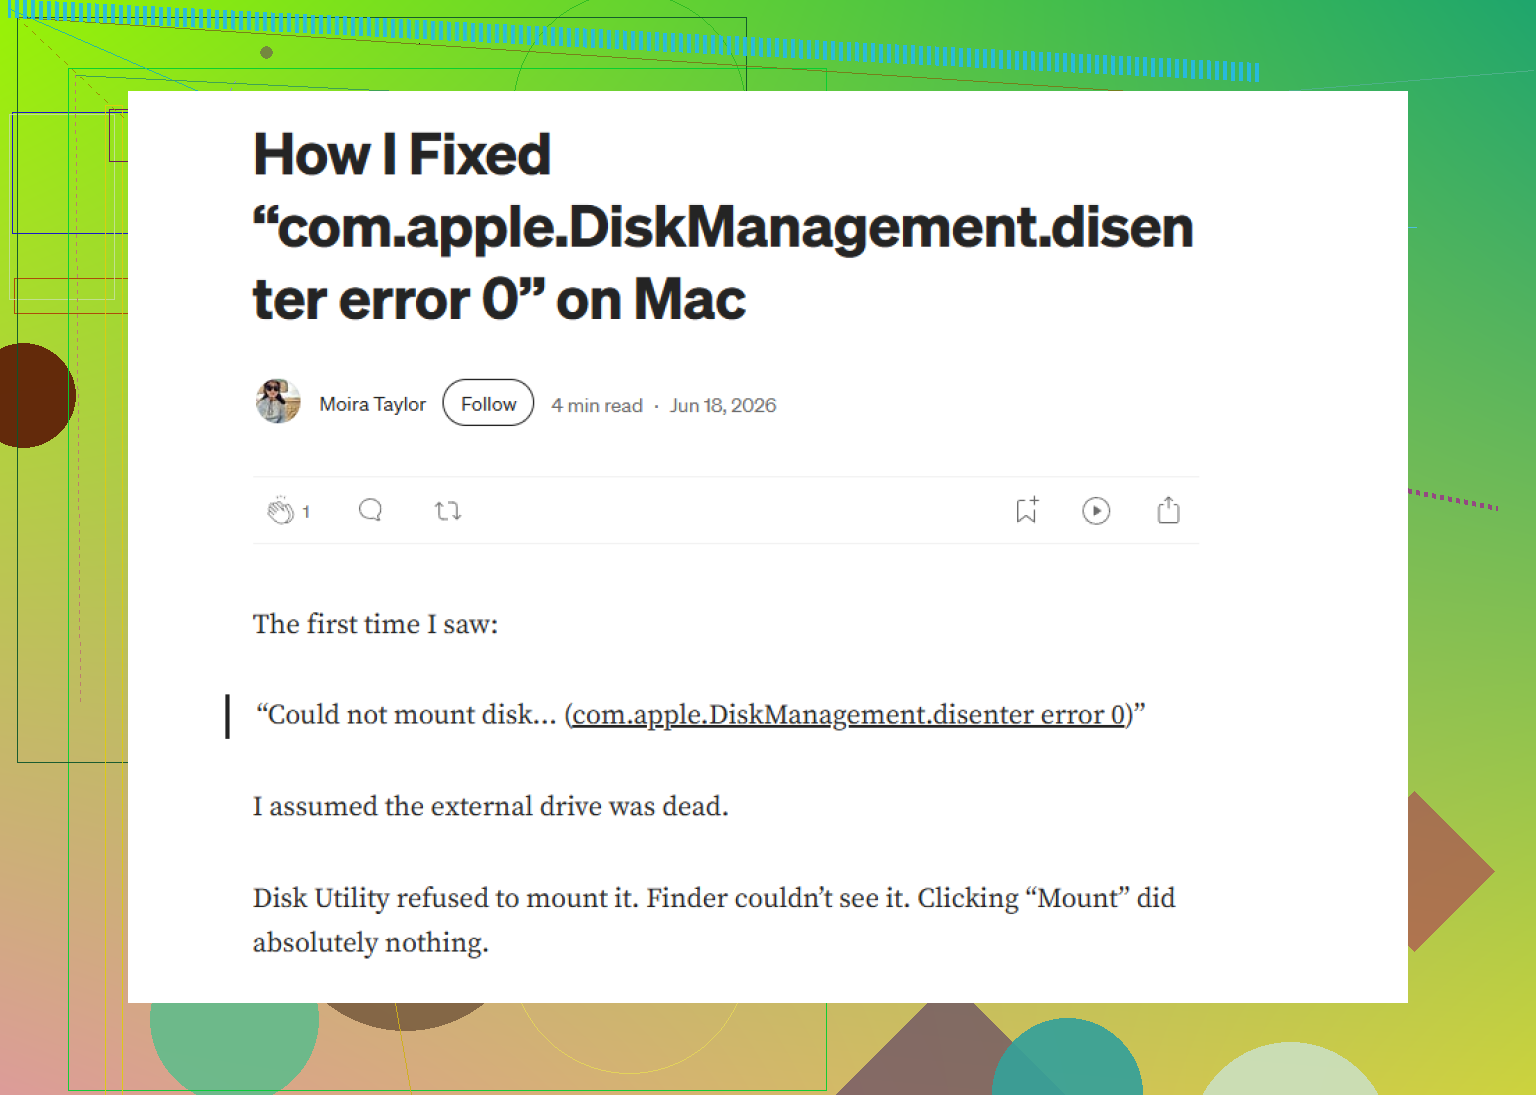
My external hard drive suddenly stopped mounting on my Mac and I’m getting the com.apple.diskmanagement.disenter error 0 message. I need help figuring out what caused it and how to get the drive to show up again without losing my files.
I ran into this same mess with a drive showing up in Disk Utility but staying gray, then throwing the com.apple.DiskManagement.disenter style error with “Error 0.” What I saw was simple in one sense. The Mac detected the hardware, but it refused to mount the file system.
From what I’ve seen, it usually comes down to one of these:
1. The drive was pulled without ejecting, so macOS flagged it and started checking it.
2. The file system and your macOS version are not getting along, exFAT seems to show up here a lot.
3. fsck got stuck and never finished, so the disk stayed locked.
If your files matter, I’d avoid random mount attempts for too long. Start with the low-risk stuff first.
1. Stop the hung fsck process
This fixed it for me more than once. If macOS is running fsck in the background and it freezes, the disk can sit there unusable forever.
Open Terminal from Applications > Utilities and run:
sudo pkill -f fsck
Type your password and press Enter. Nothing shows while you type, which still feels weird every time.
If fsck was the thing blocking the drive, the volume sometimes mounts right after this. If it mounts as read-only, don’t poke around too much. Copy your files off first. I did not wait when mine came back, and I’m glad I didn’t.
2. Run First Aid in the right order
A lot of people only run First Aid on the volume name they see first. I had better luck after showing the full device tree.
In Disk Utility:
View > Show All Devices
Then run First Aid in this order:
1. Physical disk
2. Container, if one exists
3. Volume
I’ve had First Aid fail once, then do something useful on the second or third pass. Not elegant, but I saw it repair directory issues after repeated runs. If you get B-tree or header-related errors, give it another shot before moving on.
3. Log out, then back in
This sounds fake, I know. Still, I’ve seen Monterey and Ventura act strange with disk services. Logging out of my user account cleared it once. Another time, the drive mounted under a second user account on the same Mac while my main account kept refusing it.
If it works in another account, I’d treat it like a user-level settings or permissions glitch, not a dead disk.
4. Check for Time Machine interference
If the drive was used with Time Machine, turn off automatic backups for a bit and try again.
Go into System Settings and disable “Back Up Automatically.”
I’ve seen macOS keep a weird grip on disks tied to backup history or local snapshots. Turning Time Machine off sometimes breaks the loop.
5. If errors keep stacking up, switch to recovery
At some point I stop trying to “fix” the file system. Repeated repair attempts on a damaged drive are how you turn a bad day into a worse one.
When I needed files off a drive macOS would not mount, I used Disk Drill. What mattered for me was this: it scanned the disk without relying on macOS to mount it first. That got around the disenter problem and let me see recoverable files before I did anything destructive.
My case was a WD_Black external drive. Disk Utility kept failing. The recovery scan pulled up the folder layout in preview well enough for me to save the stuff I cared about onto another drive. After dat, I stopped messing with Terminal commands.
6. Reformat only after your data is safe
Once your files are copied somewhere else, wipe the drive clean if you want to keep using it.
In Disk Utility, select the physical disk and choose Erase.
Format choices:
For Mac only, use APFS or Mac OS Extended (Journaled).
For Mac and Windows, use exFAT.
I’d format exFAT on the Mac if this issue started after using the drive across systems. I’ve seen odd compatibility problems from drives prepared elsewhere, especially with larger disks.
What I’d do in order
1. Kill fsck.
2. Run First Aid on all device levels.
3. Log out and test another user account.
4. Disable Time Machine auto backup if relevant.
5. Recover data before doing more repairs.
6. Reformat after recovery.
One more thing. Big drives take forever during scans. On 4TB and up, I’ve had First Aid look frozen when it was still working. So yeah, give it time, but not endless time.
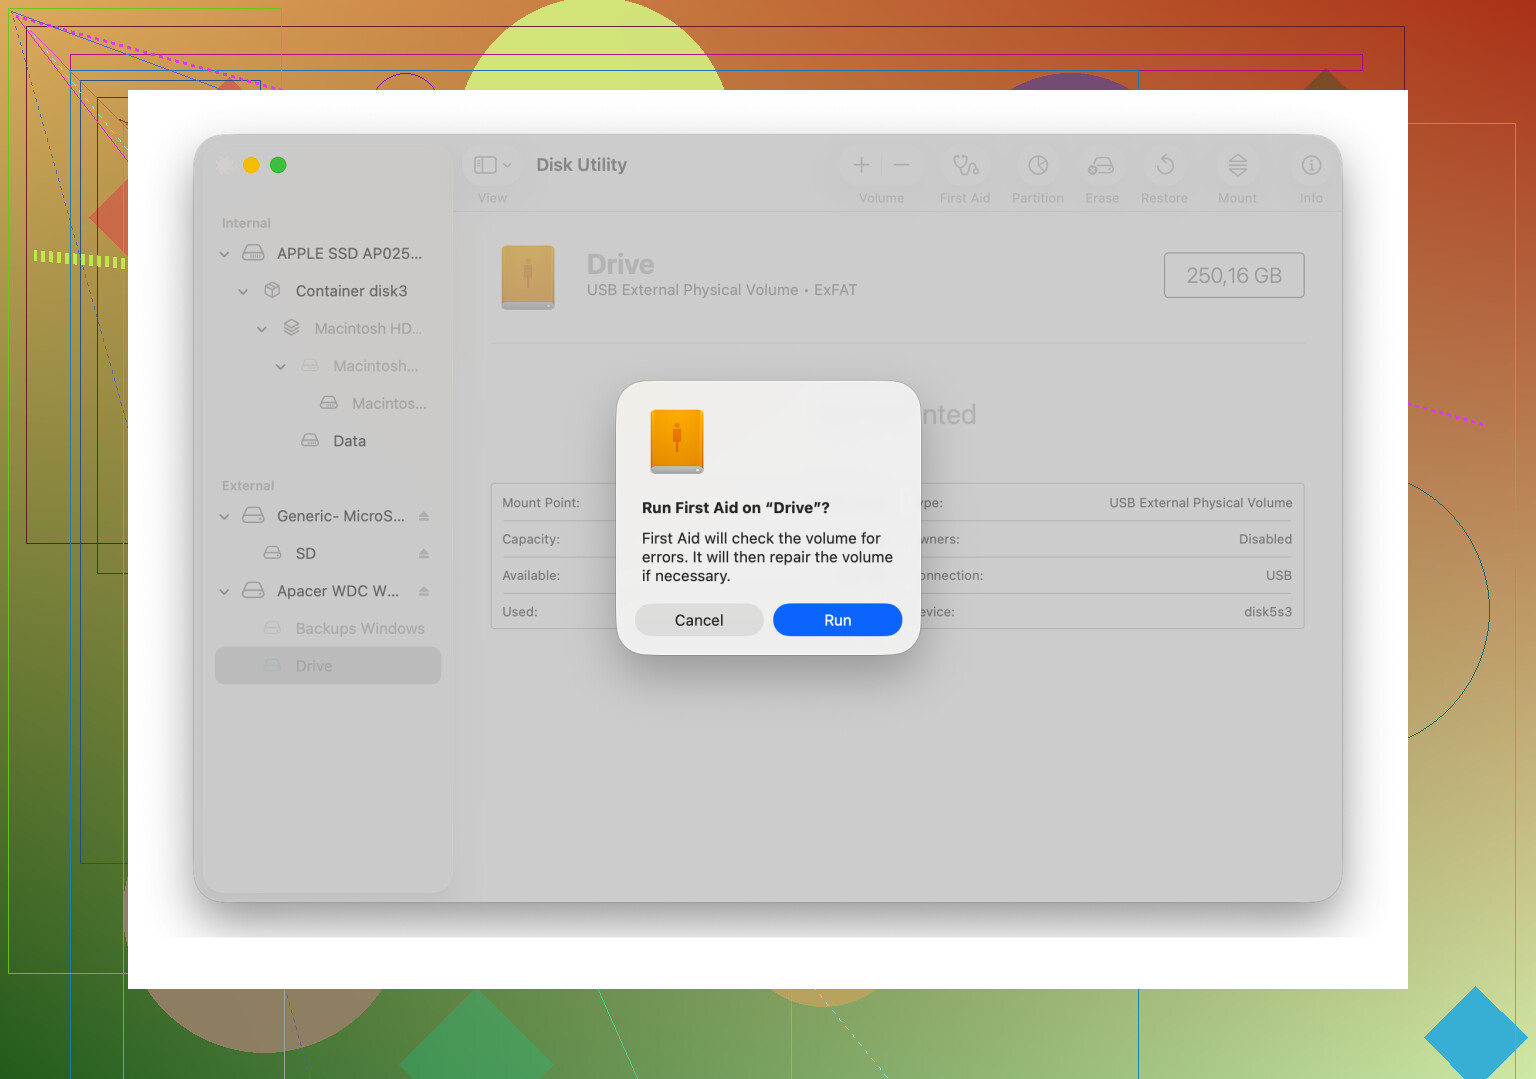
If the drive shows up in Disk Utility but will not mount, I would check the partition map before anything else. @mikeappsreviewer covered fsck and First Aid pretty well. I don’t fully agree with repeated repair passes if the data matters. After one clean pass, I switch to diagnosis.
Here’s what I’d do.
- Check if the partition scheme is damaged.
Open Terminal and run:
diskutil list
Look for your external disk. If you see the physical disk but the volume entry is missing, blank, or has odd size info, the GUID partition table might be corrupt. Error 0 often shows up when macOS sees the device but hates the map or file system metadata.
- Try a manual mount command.
Run:
diskutil mountDisk /dev/diskX
Replace X with your disk number.
If it fails, run:
diskutil info /dev/diskX
Look at:
Protocol
File System Personality
Read-Only Media
SMART status, if exposed by the enclosure
Bad USB bridge boards cause this more than people think. I had one Orico enclosure fail while the bare drive was fine. Swapped enclosure, drive mounted first try. Annoying stuff.
- Rule out cable, port, and hub issues.
Use a different cable.
Plug direct into the Mac.
Skip hubs and dongles.
Power the drive from its own adapter if it has one.
A weak USB connection often gives weird mount errors instead of a clean disconnect notice. Seen it too meny times.
- Test on another machine.
Mac first.
Windows second if the disk is exFAT.
If Windows reads it and macOS does not, you are likely dealing with file system compatibility or a macOS disk service issue. If neither system reads it, the problem is lower level.
- Check system logs.
In Terminal:
log show --last 10m | grep -i diskmanagement
Also check Console for I/O errors, media errors, or “invalid BS_jmpBoot” on exFAT volumes. Those messages point to file system header damage.
- If the disk is visible but unmountable, recover before erase.
This is where Disk Drill makes sense. It scans the drive even when Finder refuses to mount it. For a dead-looking external HDD on Mac, Disk Drill is one of the better options before you format. If the files matter, save them elsewhere first.
If recovery works, then erase the physical disk, not only the volume. Use GUID Partition Map plus:
APFS for Mac-only use
exFAT for Mac and Windows
Also, this fits your case pretty well:
fixing the com.apple.diskmanagement.disenter error by formatting the drive
If you want a quick cause list, the common ones are:
corrupt partition table
damaged exFAT header
bad enclosure or cable
unsafe eject
failing drive sectors
If Disk Utility shows S.M.A.R.T. failing, stop trying to mount it and pull data off fast.
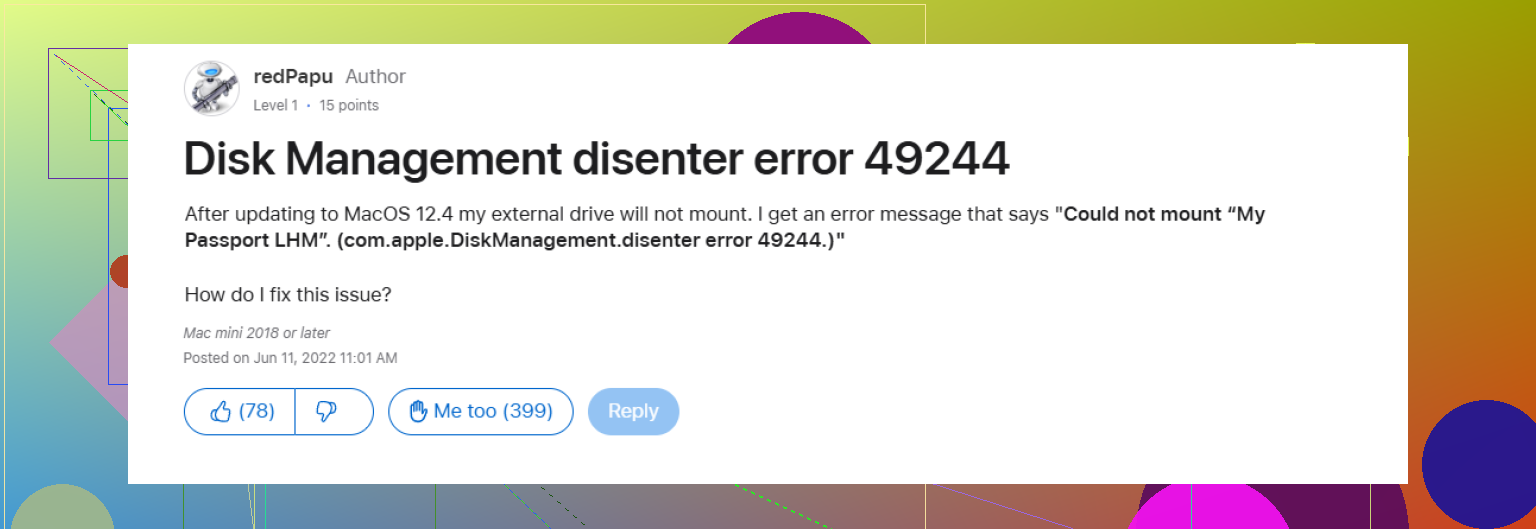
I’d add one thing that @mikeappsreviewer and @himmelsjager did not really stress enough: check whether the drive is being blocked by macOS security policy, not just by file system damage.
On newer macOS versions, removable volumes can fail to mount if ownership, encryption state, or stale mount points got weird after sleep, a crash, or a bad unplug. I’ve seen drives throw Error 0 and still be perfectly healthy.
Try this in Terminal:
diskutil resetUserPermissions / \id -u``
Then:
sudo mkdir /Volumes/TestMount
sudo mount -t exfat /dev/diskXsY /Volumes/TestMount
Swap diskXsY for the actual volume slice. If it mounts manually, Finder or Disk Arbitration is the issue, not necesarily the disk itself.
Also check if the disk is accidentally flagged read-only at the kernel level:
mount | grep /Volumes
sudo dmesg | grep -i exfat
If you see repeated I/O retries, that points more to enclosure or power weirdness than logical corruption. That’s why I slightly disagree with doing too many repair attempts early. Sometimes the file system is fine and the USB bridge is lying.
Another useful test is Safe Mode. Boot into Safe Mode, connect the drive, and see if it mounts there. If yes, some third-party extension, security tool, or helper app is interfering.
If the data matters and it still won’t mount, stop poking it too much and scan it with Disk Drill. That’s usually the cleaner move before erase/reformat. Also worth reading this step by step Mac fix for com.apple.diskmanagement.disenter error 0 since it lays out one user’s recovery path pretty clearly.
If Disk Utility sees the hardware but mount fails, the big suspects are:
- bad enclosure behavior
- stale mount permissions
- exFAT driver issues
- partial corruption
- power delivery problems
People jump straight to “the disk is dead” way too fast. Sometimes it’s just macOS being dumb tbh.
I’d check one thing none of the others really leaned on hard enough: whether the drive is failing to spin up cleanly.
@himmelsjager, @nachtschatten, and @mikeappsreviewer covered the logical side well. I slightly disagree with doing lots of mount and repair retries if the drive is clicking, repeatedly disconnecting, or taking forever to appear. That pattern smells more like hardware degradation than metadata corruption.
What I’d do:
- Open System Information > USB and see if the enclosure identifies consistently
- Listen for spin-up, click, spin-down loops
- Check Disk Utility capacity against the label size
- wildly wrong size often means bridge-board or disk hardware trouble
- If it is a 3.5-inch HDD, verify the power brick first
- If possible, remove the bare drive from the enclosure and test with a known-good SATA-to-USB adapter
A lot of “disenter error 0” cases are really enclosure failures pretending to be file system problems.
If the data matters, skip extended experimentation and image the disk first if you can. After that, Disk Drill is reasonable.
Disk Drill pros:
- can scan drives that refuse to mount
- good preview and recovery workflow
- helpful before reformatting
Disk Drill cons:
- deep scans on HDDs are slow
- recovery quality depends on how damaged the disk is
- not magic if the hardware is dying fast
So my order would be: verify power/enclosure behavior, test the bare drive if possible, then recover with Disk Drill before any erase.
Try Safe Mode firts, a simpler test missing from the discussion. It helps isolate interference from software loading during startup.
On Apple silicon, shut down, then hold the power button until startup options appear. Select your startup disk, hold Shift, and click Continue in Safe Mode.
On Intel, restart while holding Shift until the login screen appears.
After signing in, reconect your external drive and check Finder. If it appears, copy your important files to another drive before further troubleshooting. Treat this as a diagnostic step, not a guaranteed repair.
Nobody’s asked whether the drive is encrypted. If FileVault was ever turned on for it, or it was set up as encrypted APFS, Error 0 can just mean the volume is locked and Finder quietly gave up instead of asking for the password. Run diskutil apfs list and look for a locked volume in there. If that’s what’s going on, the fsck kills and manual mount commands won’t do anything until you unlock it first.
@kakeru had the right instinct about imaging before poking at hardware. If there’s any chance the drive is on its way out, clone it to a disk image before you run a single scan, so every read hits the copy instead of the failing disk. Disk Drill will make that byte-for-byte clone and then let you scan the image rather than the original. Keeps a long deep scan from grinding on a drive that’s already struggling.