My Seagate external hard drive suddenly stopped showing my files on Windows, and I’m worried I may lose important photos and documents. The drive is detected sometimes, but I can’t open it reliably. What’s the safest way to do Seagate external hard drive recovery on Windows without making the data loss worse?
Stop using the Seagate drive for now. That’s the big thing. If Windows is asking to format it, files disappeared, or the drive suddenly looks empty, don’t keep plugging it in and poking around. Deleted or “missing” files often still exist until something new gets written over that space.
First check whether the drive sounds healthy. Normal spinning is one thing. Clicking, grinding, repeated spin-up sounds, or anything loud and weird is different. If it’s making those noises, I wouldn’t run recovery scans on it. Check Seagate’s Rescue Data Recovery Services instead, especially because some Seagate drives come with Rescue coverage for a limited period. It’s worth checking the serial number before assuming you’re stuck paying full price.
If the drive sounds fine but doesn’t show up in File Explorer, shows as RAW, or Windows says it needs to be formatted, that doesn’t always mean the data is gone. It may just mean Windows can’t read the file system properly anymore.
For a DIY recovery attempt, install the recovery software somewhere else, not on the Seagate drive. Your internal drive is fine, or another external drive. For Seagate external drives, Disk Drill is a reasonable option, especially if the drive was unplugged incorrectly, shows the wrong format, or appears damaged but still detects.
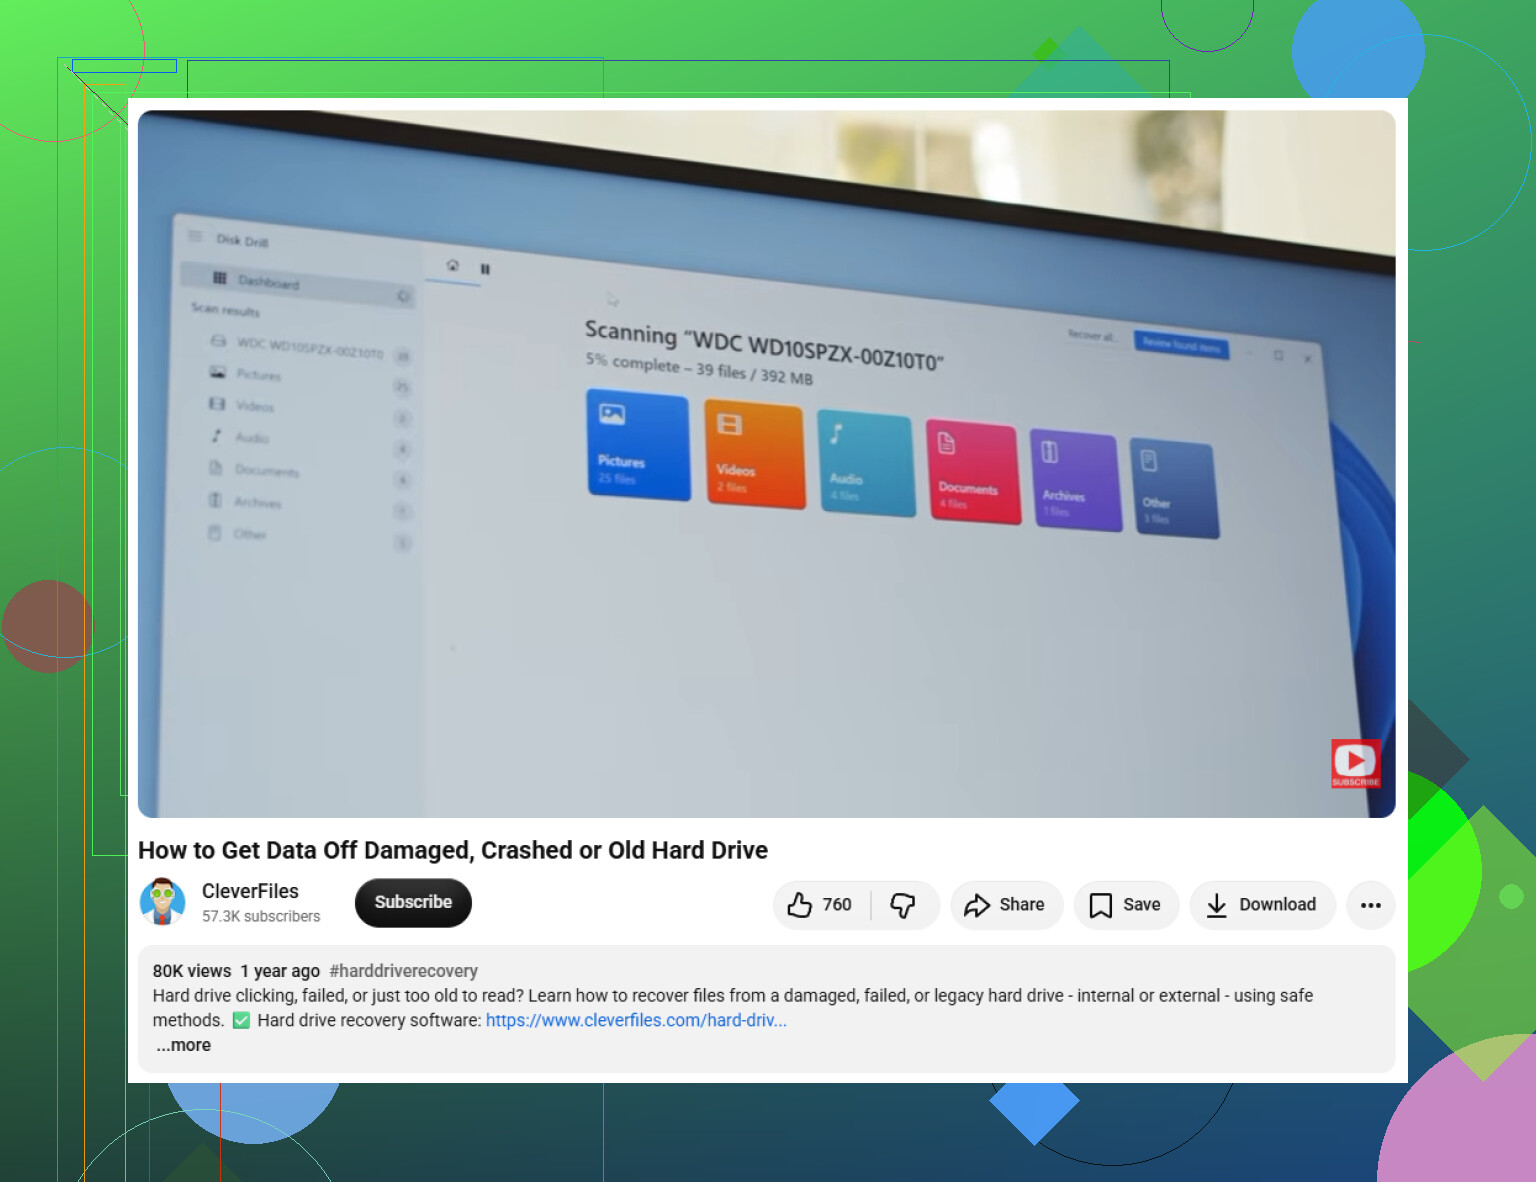
The safer way is to make a byte-to-byte backup first if the drive seems unstable. Disk Drill can create a full disk image of the Seagate drive, then you can disconnect the original and scan the image instead. That avoids putting more wear on the drive while recovery software searches through it.
A few practical things:
- Use a known-good USB cable. Try another port too, since portable drives can be picky and cables fail all the time.
- If Disk Drill sees the Seagate drive or the disk image, scan that for lost data.
- Preview files before recovering them. If photos, videos, or documents preview correctly, that’s a good sign they’re actually recoverable.
- Recover files to a different drive. Never save recovered files back onto the same Seagate drive you’re scanning.
If the software doesn’t show the drive, check Windows Disk Management. If it appears there with the correct size, like 2TB or 5TB, recovery software may still be able to read it even if File Explorer can’t.
Once you get the important files back, don’t just assume the drive is fine. Run Seagate SeaTools and use the Long Generic Test. If it fails, replace the drive. If it passes, you can format and reuse it, but I’d still keep a second backup from now on.
These scans can take a while on larger drives. But if the drive powers on, sounds normal, and is still detected with the right capacity, you’ve got a decent shot at recovering the files.
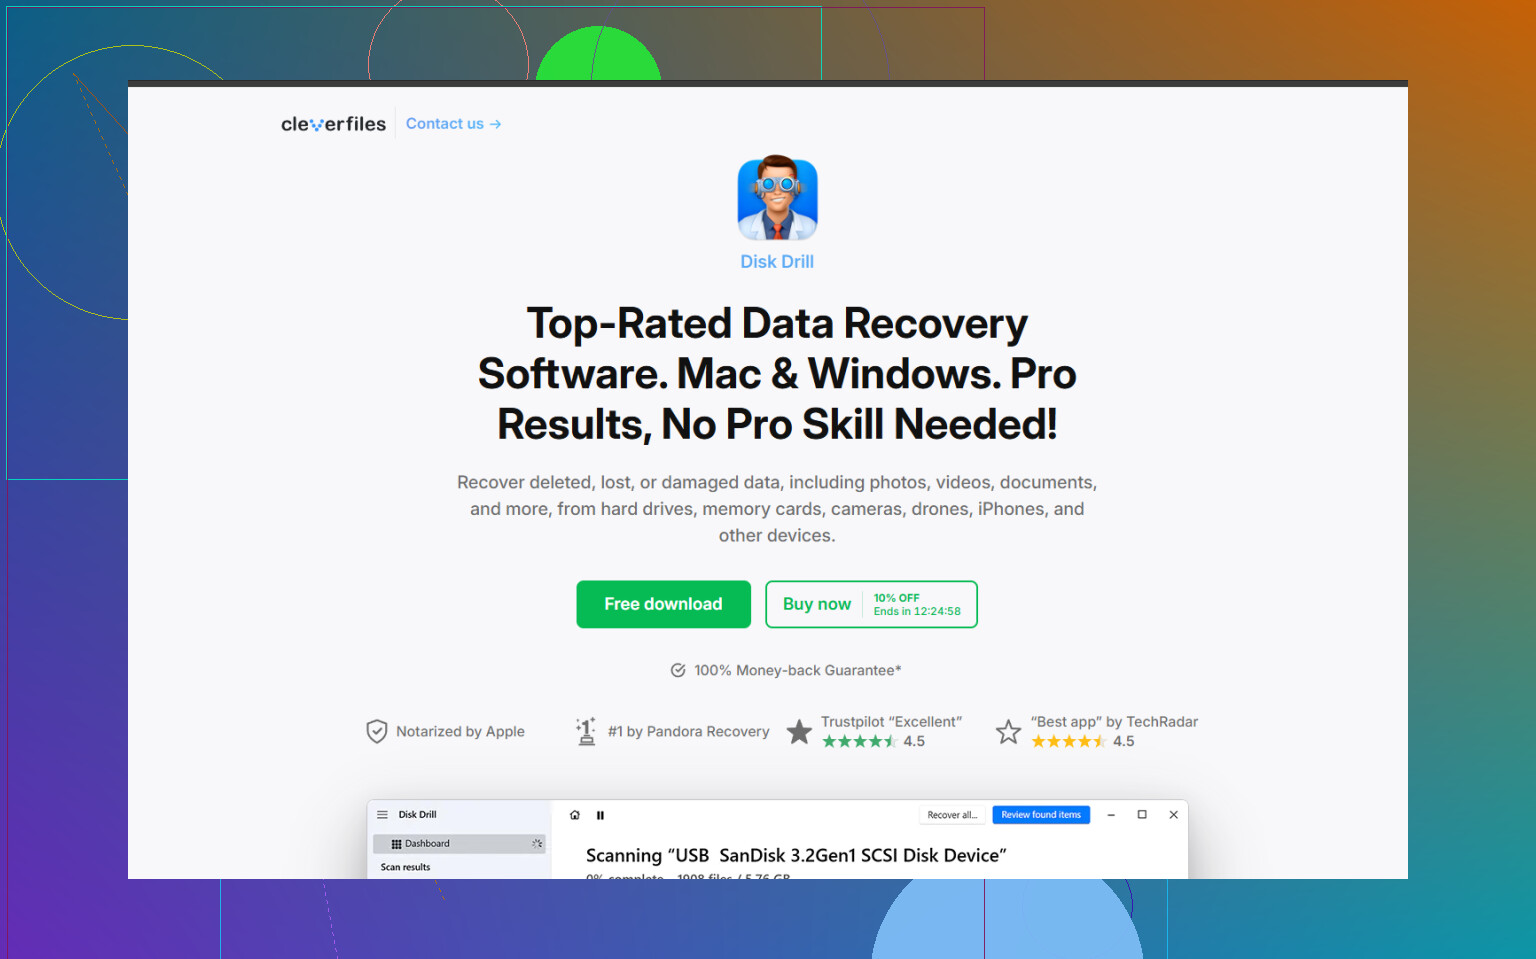
A drive that shows the right size in Disk Management is a very different case from one that drops in and out or reports 0 bytes. If it’s intermittent, I’d suspect cable, USB port, power, or the enclosure before blaming the files, so test that first and only run Disk Drill or any recovery scan once the connection is stable. If it keeps disconnecting mid-scan, stop and go the image/pro route instead.
You may recover everything, but don’t assume Windows “repair” is harmless. If it pops up with “scan and fix,” “you need to format,” or anything involving CHKDSK, cancel it for now. Those tools are meant to make the file system usable again, not preserve the best recovery path, and they can move damaged records around or leave you with a mess of found.000 files.
If the drive stays connected long enough to browse, don’t waste that window organizing folders. Copy the most important stuff first, starting with photos/documents you can’t replace, and copy to a different disk. Skip anything huge or replaceable until the critical files are safe. If it disconnects while copying, that tells you this is not a normal “missing files” case anymore.
After that, I’d treat the Seagate as suspect hardware, not just a software problem. Disk Drill is fine to try if the drive is stable or if you can scan an image of it, but I wouldn’t point any recovery program at a drive that keeps vanishing every few minutes. And definitely don’t initialize, format, or create a new partition just because Disk Management suggests something. Those buttons are easy to click and annoying to undo.
Do not “test” recovery on the only copy of your files.
If the drive is still appearing now and then, treat every successful mount like a limited-time chance. I’d make a simple rescue folder on another drive and copy the irreplaceable folders first. If File Explorer hangs, don’t keep double-clicking the same folder over and over. That can make Windows sit there retrying bad reads forever. Sometimes a command copy is less annoying because it can skip failures and keep moving, for example using robocopy with low retries, but only if the drive is staying connected long enough to read.
Something like this can work when the drive has a letter and is mostly readable:
robocopy E:\Photos D:\Recovered_Seagate\Photos /E /R:1 /W:1
Change the letters and folder names, of course. The point is not that robocopy is magic. It just avoids Windows Explorer getting stuck on one bad file for ten minutes. I would not use it to copy the entire drive first unless you have already grabbed the most important folders.
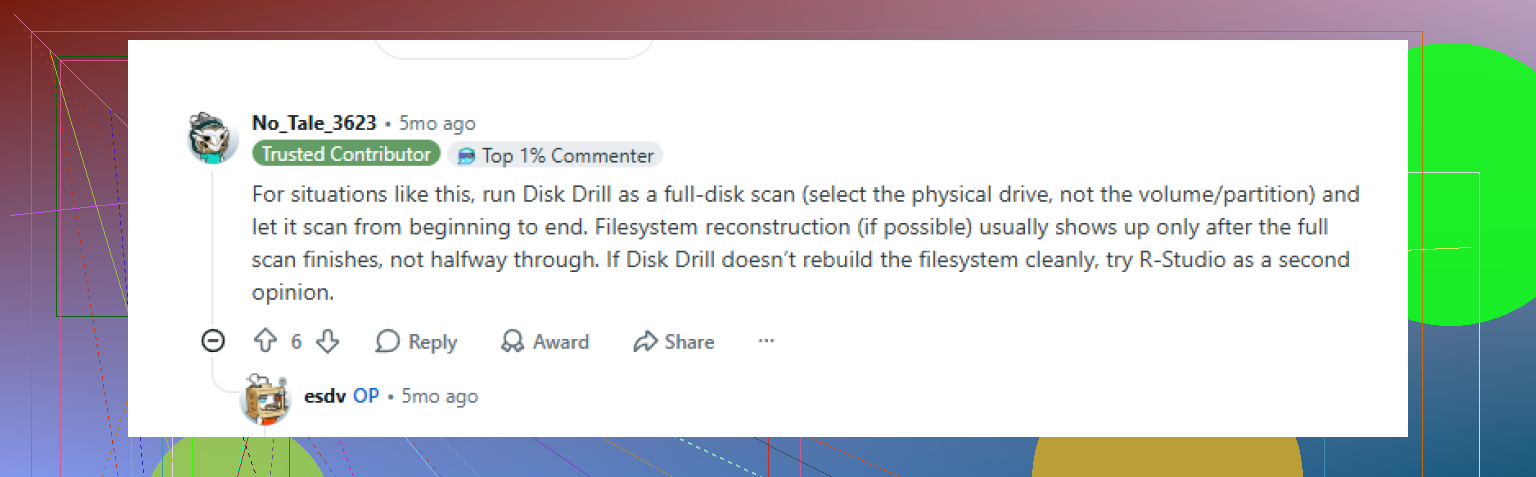
For actual recovery software, Disk Drill or similar tools make more sense after you stop the random plugging and unplugging cycle. If the file system is damaged, a scan may find files that Explorer won’t show. But if the drive disconnects during a scan, the scan results are not something I’d trust much. In that case an image/clone first is the better route, even if it is slower and needs another disk at least as large as the Seagate.
A detail people forget: don’t open the Seagate enclosure unless you’re okay with possibly losing warranty or Rescue coverage. Some external drives also have USB boards or encryption quirks, so pulling the bare drive out and sticking it in a dock is not always a clean shortcut. Check the serial/warranty situation before taking it apart.
After the files are recovered, retire the drive unless it passes testing cleanly and behaves normally for a while. A drive that “sometimes” works is already a bad place to keep your only photos and documents. Even if you get everything back, assume it gave you a warning rather than a solved problem.