My Mac stopped booting after a recent crash, and I need to recover important files from the hard drive. Disk Utility can see the drive, but I can’t access my documents. What’s the safest way to recover data from a Mac hard drive without making things worse?
The main thing is: don’t keep using the drive. Seriously, that matters more than whatever recovery app you try next.
I’ve had that same awful “oh no, where did everything go?” moment. In my case, I thought I had copied my thesis to a flash drive, and it turned out I hadn’t. So yeah, it feels terrible. But missing files on a Mac are not always truly gone. A lot of the time the data is still on the drive, just no longer visible in the normal Finder view.
When something gets deleted or a drive gets formatted, macOS usually marks that space as free instead of wiping every bit immediately. The danger is that new activity can overwrite it. That includes downloads, updates, browsing, saving files, or just letting the machine keep doing background tasks. If it’s an external drive, unplug it for now. If it’s the internal drive, use the Mac as little as possible until you decide what to do.
Before going straight to recovery software, check the simple stuff. Look in the Trash first. Also, external drives can have their own hidden trash folder, which people miss all the time. Plug the external drive in, open it in Finder, then press Shift + Command + . to show hidden files. Look for a folder named .Trashes. If your files are sitting there, you may be able to right-click them and choose “Put Back.”
If you use Time Machine, that should be the next stop. Open Time Machine from the menu bar, go back to a date when the files were still there, select what you need, and restore it. That’s usually the cleanest recovery path if you have backups enabled.
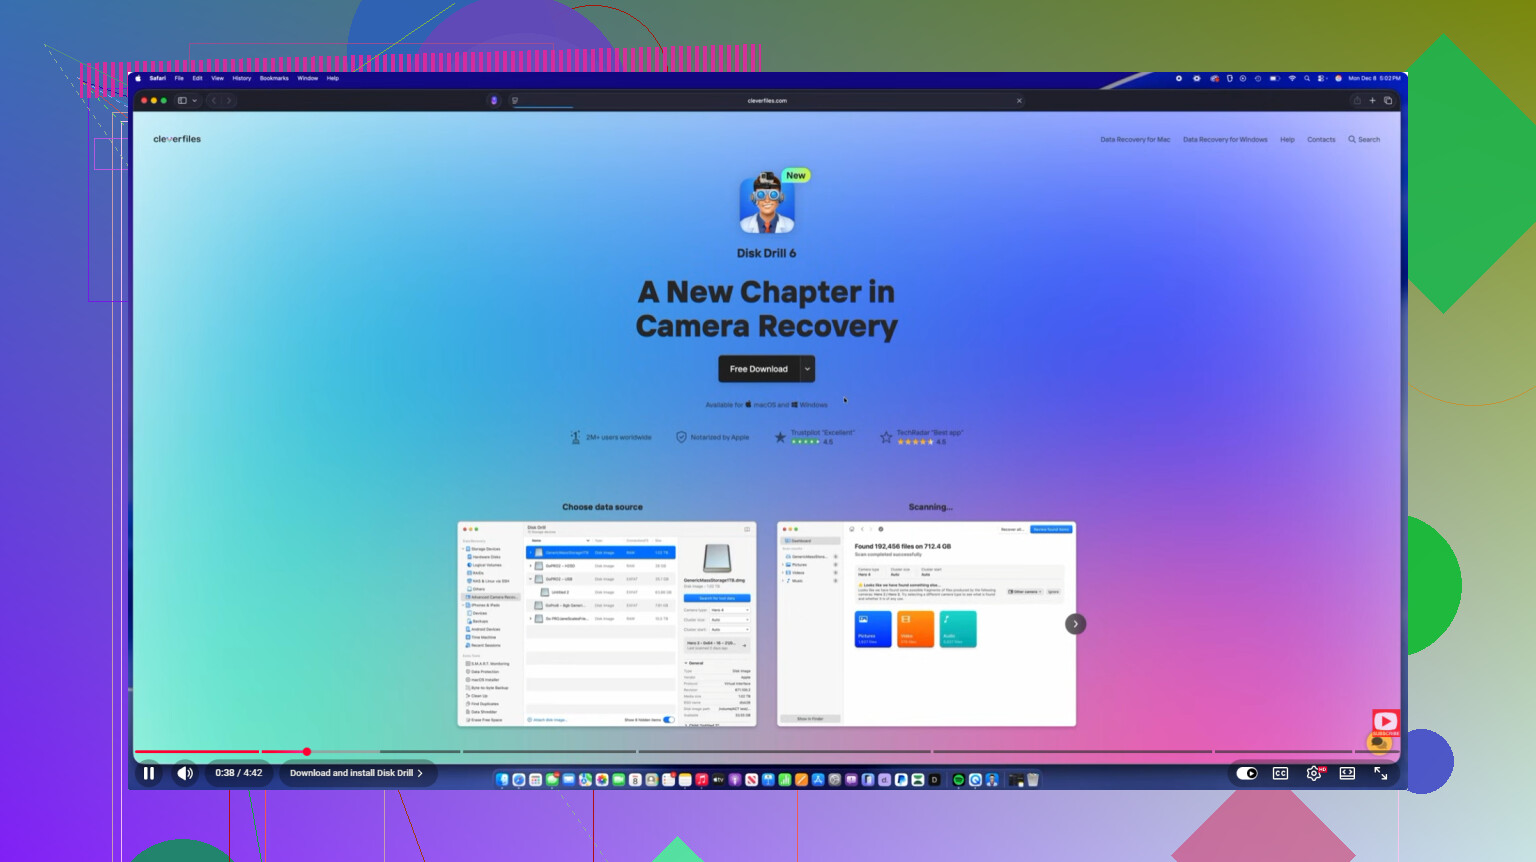
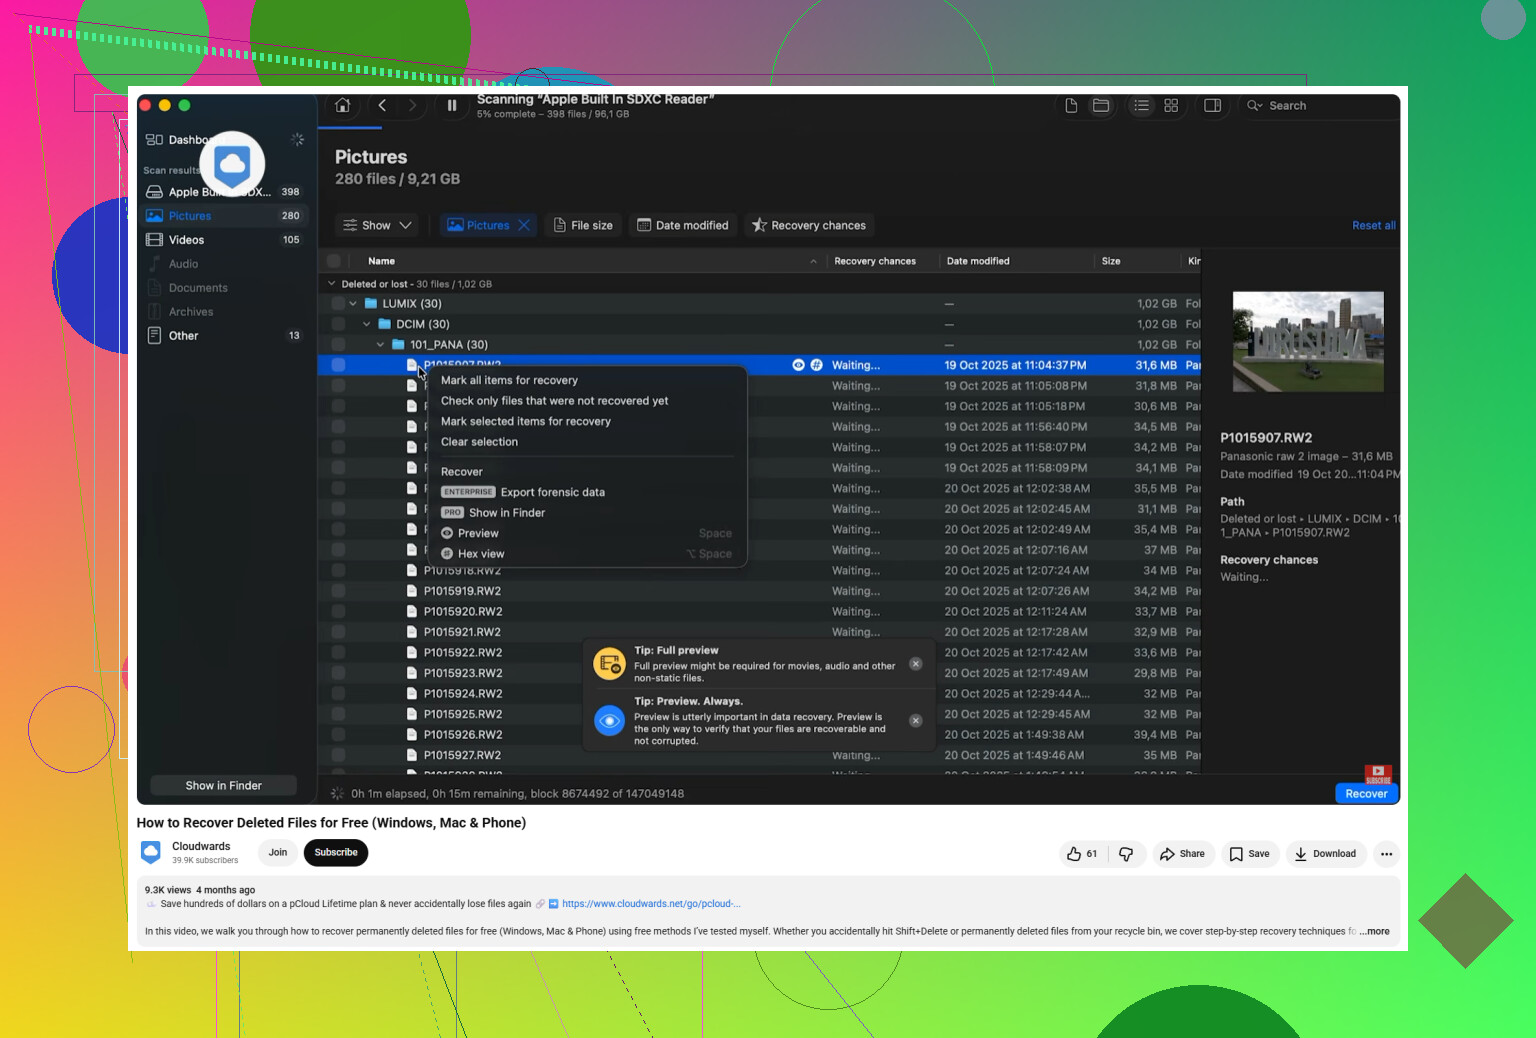
If the files aren’t in Trash and there’s no Time Machine backup, then you’re probably looking at recovery software. That’s usually the practical middle ground before paying a recovery lab. I’ve had good luck with Disk Drill, especially on Mac drives. It handles APFS and HFS+ pretty well, which is important because some generic recovery tools are not great with Apple file systems.
One reason tools like Disk Drill can work is that they don’t only search by file name. They can scan for file signatures, meaning the recognizable structure that tells the software something is a JPG, PDF, DOCX, and so on. If the drive is acting flaky, like disconnecting, loading slowly, or disappearing, don’t keep hammering it with scans. Use the Byte-to-Byte Backup feature first if you can. That makes a full disk image, then you scan the image instead of stressing the original drive.
One extra thing if this is an internal SSD: move quickly. SSDs commonly use TRIM, which can clear deleted data in the background to keep the drive running efficiently. That makes recovery a lot harder than it was with older spinning hard drives. The less you use the Mac, the better your odds.
If the drive is clicking, grinding, buzzing, or making weird mechanical sounds, stop. Don’t scan it. Don’t keep plugging it in to “try one more time.” Software won’t fix physical damage, and every attempt can make recovery worse. At that point, unplug it and talk to a professional recovery service. It can be expensive, but for irreplaceable files, that’s the safer route.
For later, set up both Time Machine and some kind of cloud backup so this doesn’t turn into a panic situation again. For now, keep the drive idle, check the hidden trash and Time Machine, then try a proper recovery scan if needed. If nothing has overwritten the data yet, there’s still a real chance you can get it back.
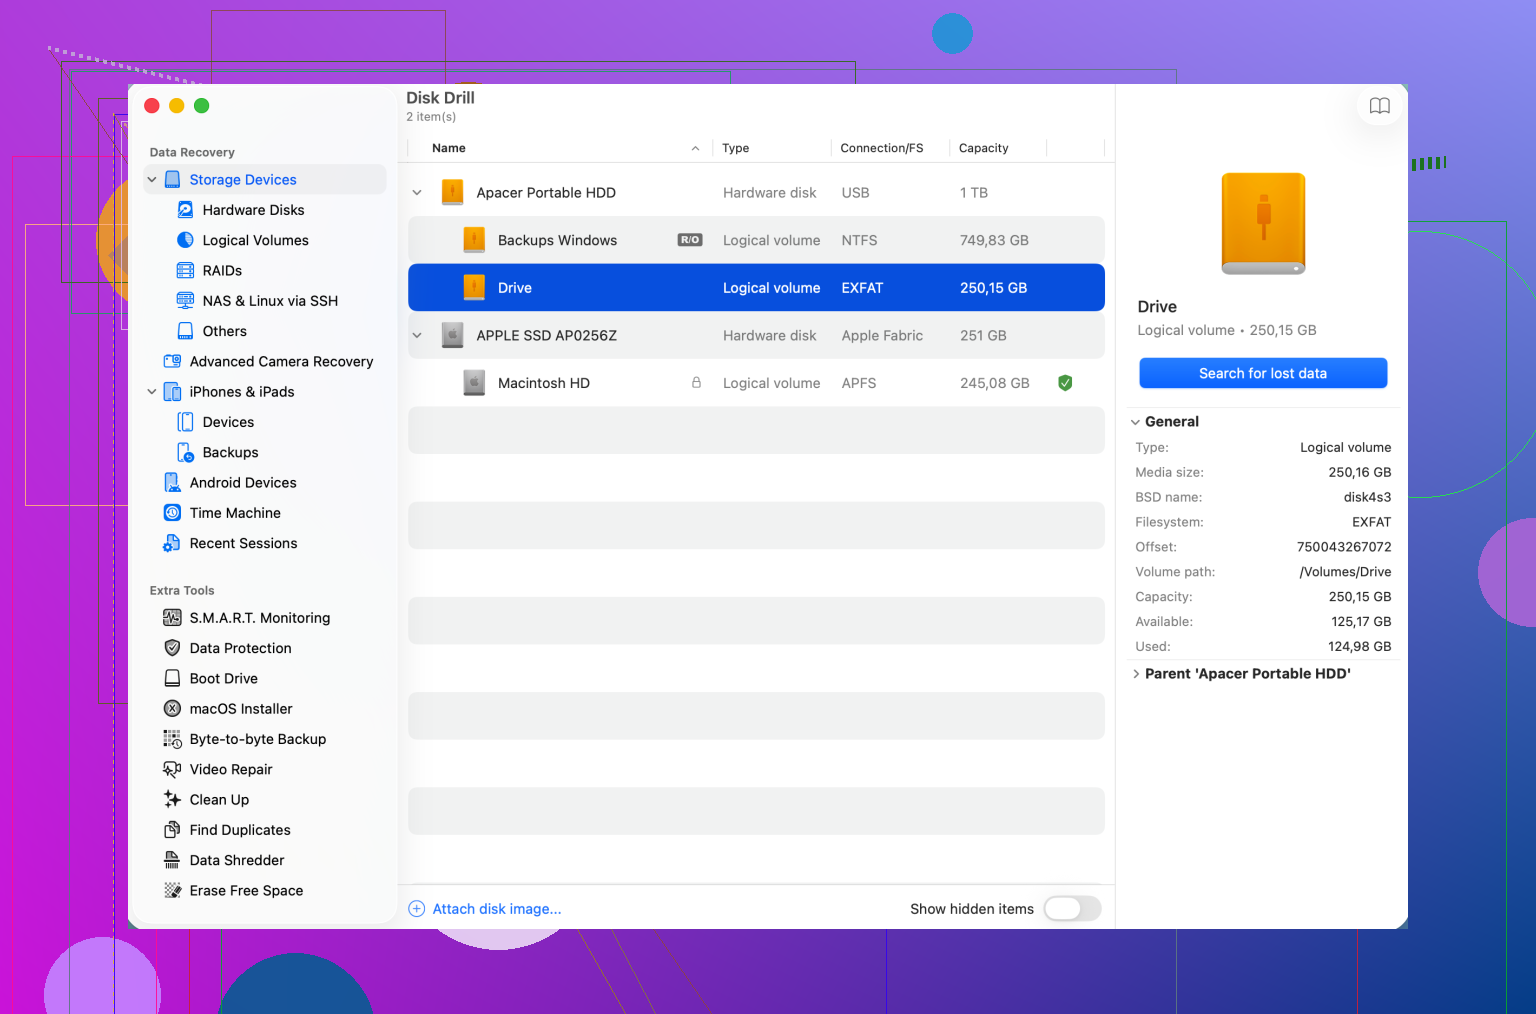
Disk Utility seeing the drive does not mean you should click First Aid over and over. If the files matter, boot from another Mac or an external macOS drive, make an image of the problem disk first, then recover from that image to a separate drive. Disk Drill is fine for the scan part, but don’t save recovered files back onto the same Mac drive.
Check whether the APFS volume is simply locked before you treat it like deleted data. In Recovery or from another Mac, open Disk Utility, select the actual data volume, and see if there’s an “Unlock” or “Mount” option. If FileVault was on, you’ll need the Mac login password or recovery key before any recovery app can read your Documents folder properly. I agree with making an image first if the data matters, but don’t skip this boring step, because a locked volume can look like a failed recovery situation when it’s really just encrypted and not mounted. If it unlocks but still won’t browse, then scan the image with Disk Drill or similar and save recovered files to a different drive.
A Mac that won’t boot is a different case from a Mac drive that won’t mount. If Disk Utility can see the drive, you may still have a decent shot, but I would not start by reinstalling macOS or running repairs unless you already have a backup. Those can change the disk enough to make recovery messier.
Before buying software, try accessing it from outside the broken system. On an Intel Mac, Target Disk Mode can sometimes let another Mac see the internal drive like an external disk. On Apple silicon Macs, the equivalent is “Share Disk” from Recovery. If it mounts there, copy the important folders to a completely separate external drive first. Don’t worry about copying the whole home folder perfectly. Grab Desktop, Documents, Pictures, whatever matters most.
@mikeappsreviewer’s FileVault point is important, because if the volume is encrypted, no recovery program is going to magically read your files without the password or recovery key. A lot of people think “the drive is visible” means “the files should be visible,” but with APFS you can be looking at the container while the actual Data volume is still locked, damaged, or not mounted.
If Share Disk or Target Disk Mode doesn’t work, then I’d go the image-first route mentioned above. Scan the image, not the original, especially if the drive is slow or acting strange. Disk Drill is a reasonable choice for that, but the honest caveat is that file names and folder structure may not all come back cleanly if the APFS metadata is damaged. You may end up with recovered files sorted by type instead of your old folders.
The big “don’t do this” item: don’t erase the Mac, don’t reinstall over the same disk, and don’t restore anything onto that drive. Every “fix” that writes to it can reduce your chances. If the files are business-critical or irreplaceable, stop after the password/mount checks and send it to a recovery shop. If they’re important but not worth lab money, make the disk image and work from that.