I accidentally emptied the Trash on my Mac and realized important files were still in it. I don’t have Time Machine or any other backup, and I really need these documents back for work. Is there any way to recover deleted files after Trash was emptied on macOS, and what should I do first to avoid making it worse?
First thing I’d do, and I mean right now, stop using the MacBook.
No downloads. No app installs. Don’t save files. Quit anything still churning in the background if you’re able to.
Here’s the ugly part. Emptying Trash on macOS usually doesn’t erase the file data right away. The system drops the references to those files and marks the storage space as free. So the data often still sits there for a bit. The problem starts when your Mac writes new stuff into those same blocks. Then your old files get replaced, and recovery odds fall off a cliff.
On newer MacBooks, this gets worse fast because SSDs use TRIM. TRIM tells the drive to clear deleted blocks in the background so performance stays up. Good for speed, bad for recovery. I’ve seen people wait an hour, keep browsing, install two apps, then wonder why the scan finds scraps and broken thumbnails.
Before you mess with recovery software, check the easy exits.
Start with the built-in saves
Time Machine snapshots
If you use Time Machine, look there first. Even without the backup drive plugged in, macOS often keeps local snapshots for around the last 24 hours on the internal drive.
Open Time Machine from the menu bar. Go to the folder where the files lived before you trashed them. Scroll back. If you’re lucky, the files are sitting there and you restore them in one shot.
Cloud trash
If those files were synced with iCloud Drive, Dropbox, or Google Drive, leave the Mac alone and check from another device. Use your phone or another computer.
A lot of cloud services keep their own deleted-items area for weeks. Your Mac’s emptied Trash does not always wipe the cloud copy at the same time. I’ve seen Dropbox save people here.
App-specific deleted folders
This one gets missed all the time.
Photos and Notes have their own Recently Deleted sections. Those usually keep items for 30 to 40 days, separate from the system Trash. If your missing stuff was images or notes, check there before doing anything else.
If backups are empty
If none of those turned up anything, data recovery software is the next move. The idea is simple. The files might still be on disk, but hidden from the file system. Recovery tools scan the raw storage and try to rebuild what was deleted before new data stomps on it.
From what I’ve seen, Disk Drill tends to work better on modern Macs than a lot of the old recovery apps people keep naming in random threads. Some older tools choke on newer MacBooks, especially models with Apple Silicon and the T2 security chip. Those systems lock down storage access hard, and many generic tools don’t handle it well.
Important part people screw up
Do not install recovery software onto the same internal drive if you can avoid it.
That install writes data. The data it writes might land right on top of the files you’re trying to get back. Brutal way to lose your last chance.
Safer route:
- Use another computer.
- Download the recovery app there.
- Put it on a USB flash drive.
- Run it from the USB on the MacBook.
It’s not fancy. It’s safer.
What to do in the app
Run a full scan, or in Disk Drill’s case, a Universal Scan.
The free scan lets you see what’s still recoverable. This matters. I’d always preview the files first before paying for anything. Check thumbnails. Open sample documents if preview is offered. Make sure the files are complete and not half-dead junk with the right filename.
If recovery works, save the recovered files to an external drive. Not back to the Mac’s internal storage. Don’t feed the same fire twice.
If the scan finds nothing
At that point, the last stop is a professional recovery lab.
They work below the operating system level with specialized gear. Sometimes they can pull data when software gets nowhere. Price is the problem. Expect something like $300 to $3,000, sometimes worse, depending on damage and urgency. I’d only go there for business records, legal stuff, or family photos you can’t replace.
Skip the Terminal folklore
I keep seeing posts recommending random Terminal commands. Most of those tips are for dealing with a Trash folder that won’t empty, or moving files out of Trash before deletion. They do not pull files back after the Trash has already been emptied.
So the short version is this.
Stop using the drive.
Check Time Machine.
Check cloud deleted folders.
Check Photos or Notes if those apps were involved.
If all of that fails, scan with recovery software from a USB setup.
Recover to an external drive.
If you move fast, you’ve still got a shot.
2 Likes
If the Trash is already emptied and you have zero backup, your best shot is file carving, not Finder tricks.
I agree with @mikeappsreviewer on one part, stop writing to the Mac. I slightly disagree on local snapshots being worth much time if you already know Time Machine was never set up. On a lot of Macs, people burn 20 minutes checking stuff tht was never enabled.
What I’d do:
- Check where the files came from.
If they were Word or Pages docs, open those apps and look for Recent, AutoRecovery, or temporary files.
Word often stores recovery data in:
~/Library/Containers/com.microsoft.Word/Data/Library/Preferences/AutoRecovery
Pages sometimes keeps temp versions inside its container folders.
-
Check iCloud.com from another device.
Not the Mac. The web side sometimes still has deleted iCloud Drive items for up to 30 days. -
If the files were on an external drive, stop using that drive and scan it from another Mac. Recovery odds are often better there than on an internal SSD with TRIM.
-
If the files were on the internal Mac SSD, use Disk Drill to scan as soon as possible. It’s one of the few Mac recovery tools people keep coming back to for emptied Trash recovery on Mac. Preview the docs before paying. Save recovered files to a different drive.
-
If FileVault was on and the Mac stayed powered on after deletion, leave it on until you try recovery. A reboot sometimes makes things worse for temp traces.
Also, this helps: watch this Mac emptied Trash file recovery guide
Best search phrase for this issue:
Recover emptied Trash on Mac without backup, step by step tutorial
If Disk Drill finds only file fragments or nothing at all, the SSD likely cleaned the blocks already. At tht point, lab recovery is the only serious option. Expensive, but for work docs, still worth pricing out.

If Trash is already emptied and there’s no backup, Finder itself won’t save you. @mikeappsreviewer and @sterrenkijker already covered the obvious first moves, so I’d look at a couple angles people forget.
First, check whether the docs were ever actually duplicated somewhere by the app, not macOS. A lot of work files leave crumbs:
- Word temp files and AutoRecovery
- Pages version history if it was stored in iCloud
- Adobe app recovery folders
- Email attachments still sitting in Mail downloads/cache
- Slack/Teams recent downloads if that’s where the files came from
Also check this manually:
~/Library/Containers/
and
~/Library/Application Support/
Not glamorous, but I’ve seen “deleted” files still hanging around there under weird names.
One place I slightly disagree with @mikeappsreviewer on: local snapshots are not always worth chasing if Time Machine was never enabled. Sometimes yes, often nope. I’d spend that time tracing the app source of the file first.
If the files were deleted from the internal SSD, reality check: recovery chances can be pretty bad on modern Macs because of TRIM. Still, if you’re going to try software, use something Mac-focused like Disk Drill and scan ASAP. Do not recover back onto the same internal drive. Preview results first so you’re not paying for junk.
If these are work docs and they matter a lot, honestly stop DIY once you’ve checked app temp folders and one scan. Every extra minute of use can make things worse. This Apple forum thread also has decent context from people in the same mess: how to recover deleted files after emptying Trash on Mac
Short version: app temp folders, cloud web trash, then Disk Drill. After that, lab or bust. That’s the annoyng truth.
One angle not covered enough by @sterrenkijker, @himmelsjager, and @mikeappsreviewer: check version history instead of pure file recovery.
If the missing documents were created in:
- Pages, Numbers, Keynote
- Microsoft 365 apps saved to OneDrive/SharePoint
- Google Docs exported locally at some point
- Adobe Cloud files
you may be able to restore an earlier server-side or app-side version even if the local Trash was emptied. That is often faster than raw recovery.
Also, I would not spend too long rebooting into different modes unless you know why. Safe Mode, recovery boot, random Terminal commands, all of that can create more disk activity than people expect.
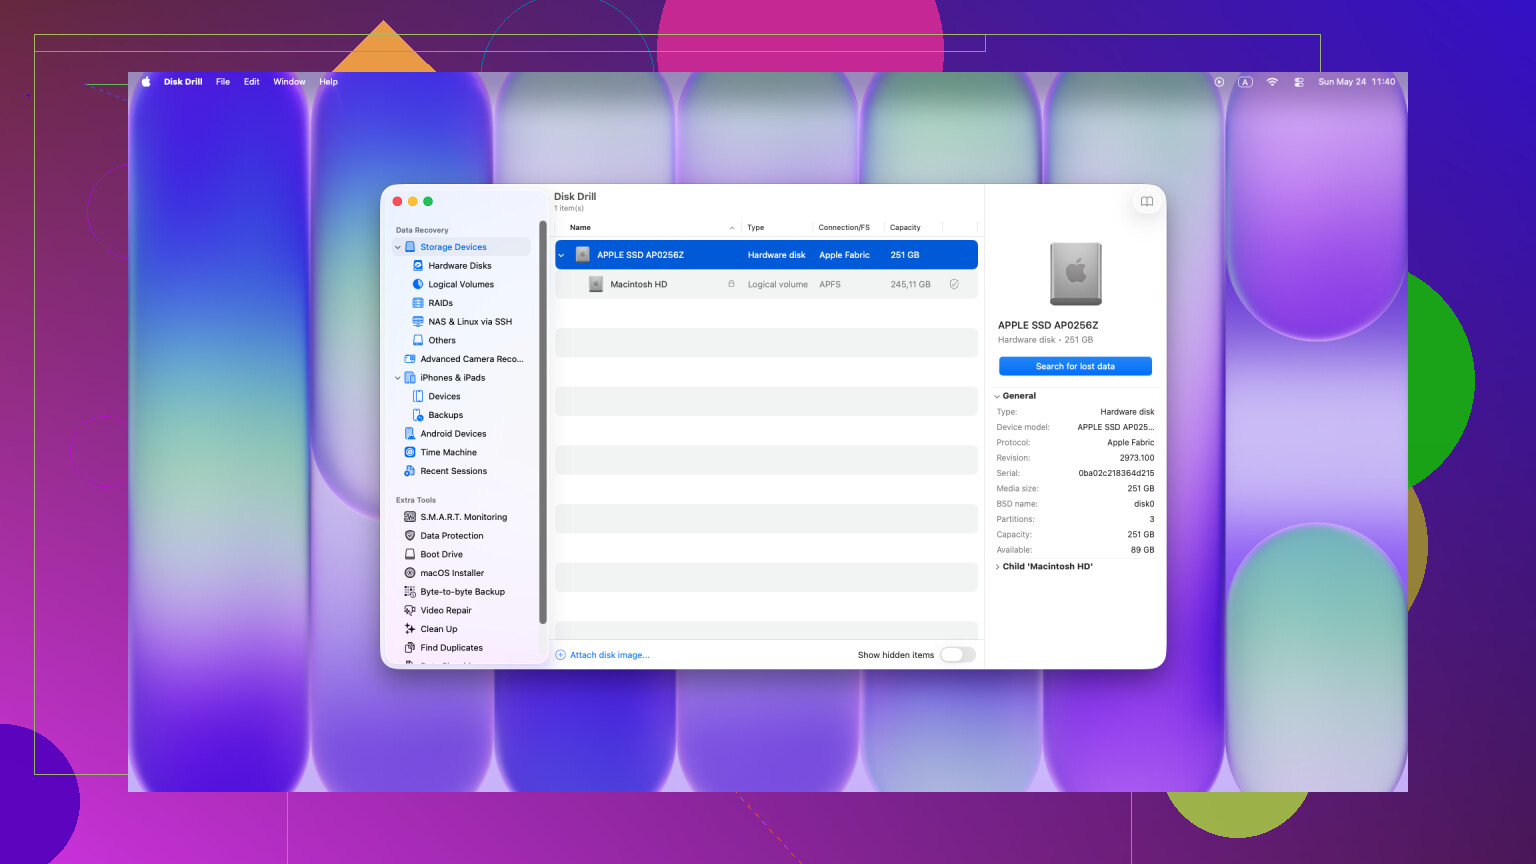
About Disk Drill for emptied Trash recovery on Mac:
Pros
- very easy preview system
- good support for common document formats
- Mac-friendly interface
- useful if you need a fast yes/no answer
Cons
- recovery on internal SSDs with TRIM can still fail completely
- deep scans may return lots of renamed files
- paid recovery can feel expensive if results are poor
My take: if this was an internal SSD and the docs are business-critical, do one careful scan with Disk Drill, save recovered data to external storage, then stop. If results are incomplete, jump to a recovery lab instead of trying five different apps that all hammer the same drive. That shotgun approach usually makes the situation worse, not better.